

- Level: Medium 🦔🦔
- Estimated reading time: 12 minutes ☕️☕️
If you’ve spent any time online, you’ve seen a cookie banner. Because of GDPR and other worldwide internet privacy regulations, some sites need to get consent to track users and use cookies. Providing visitors an easy way to opt in or out of tracking and cookies is often required.
PostHog uses cookies to identify and track users as well as manage user and application information. They allow us to provide more information to about your products and help you build better experiences for your users.
PostHog provides a simple way to implement tracking and cookies opt out (or in). In this tutorial, we are going to build a simple banner with React, JavaScript, and HTML for users to opt out of (or allow) PostHog’s tracking and cookies.
To complete this tutorial, you’ll need to a PostHog instance as well as Node installed (to install, manage, and run React).
Step 1: Setting up React
We are going to use the popular JavaScript framework React for this tutorial, but this works for other JavaScript frameworks as well. To get started with our React project, head into command line, create a folder for our project, then install and create the app (we are naming ours client).
Running these commands gives us a working React app.
Step 2: Setting up PostHog
Next, we want to set up PostHog to track activity on our site. To do this, first, we’ll install the posthog-js package.
Next, we’ll go into our client code at client/src/index.js to get PostHog initiated. We’ll import PostHog and run posthog.init with our project key and instance address.
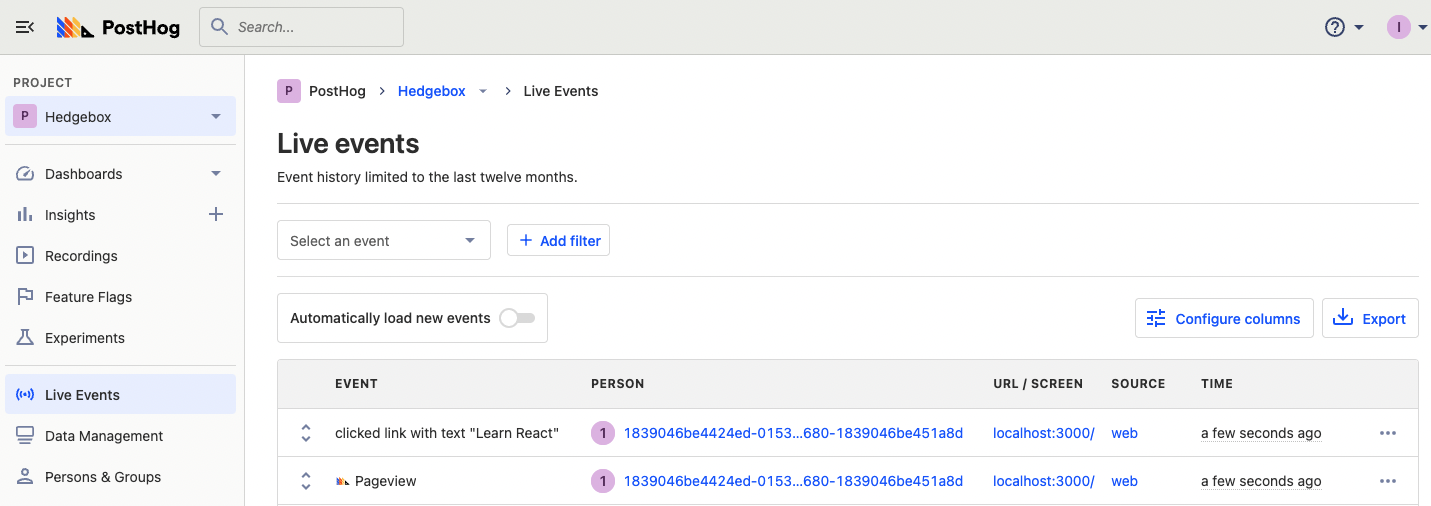
Once done, we can visit our site running locally, and we’ll start to see events in our PostHog instance. For now, the captured events are only the autocaptured ones. You can use the posthog-js library to capture many more as well as more information. Check out our event tracking guide to learn more.
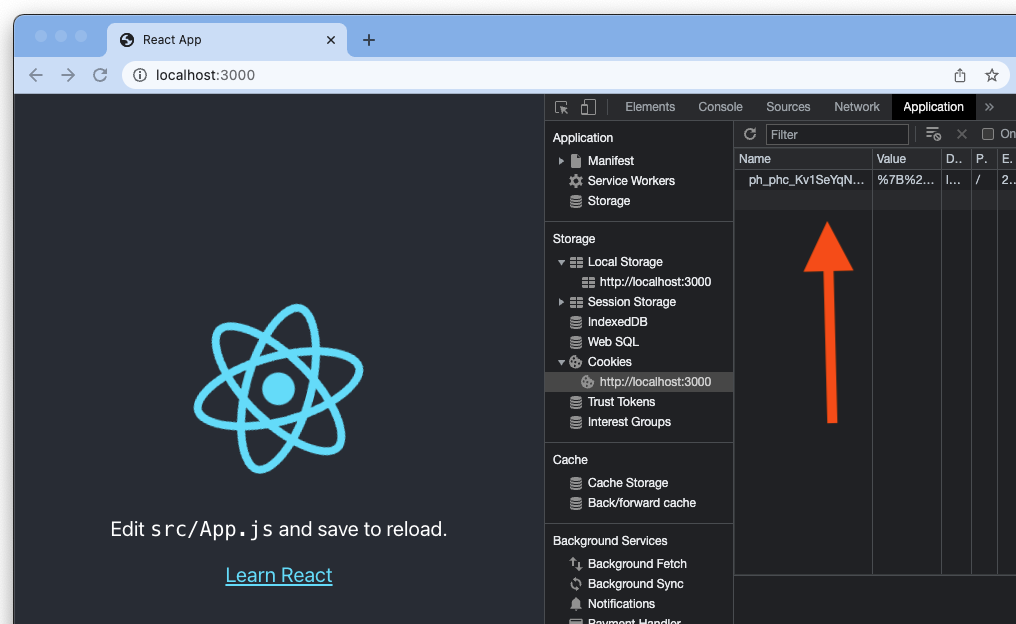
When we head back to our local site, right-click, choose inspect, go to the Application tab, and check cookies, you’ll see we’ve created a tracking cookie with details about PostHog and the user.
Step 3: Building the banner component
Now that we have our site and PostHog library set up, it is time to create the banner. To start, we can create a CookieBanner.js file in our src folder (where the rest of our React code is).
In the CookieBanner.js file, we’ll create a basic React component function with wording about cookies and accept or decline buttons.
We’ll then add the new CookieBanner component into App.js.
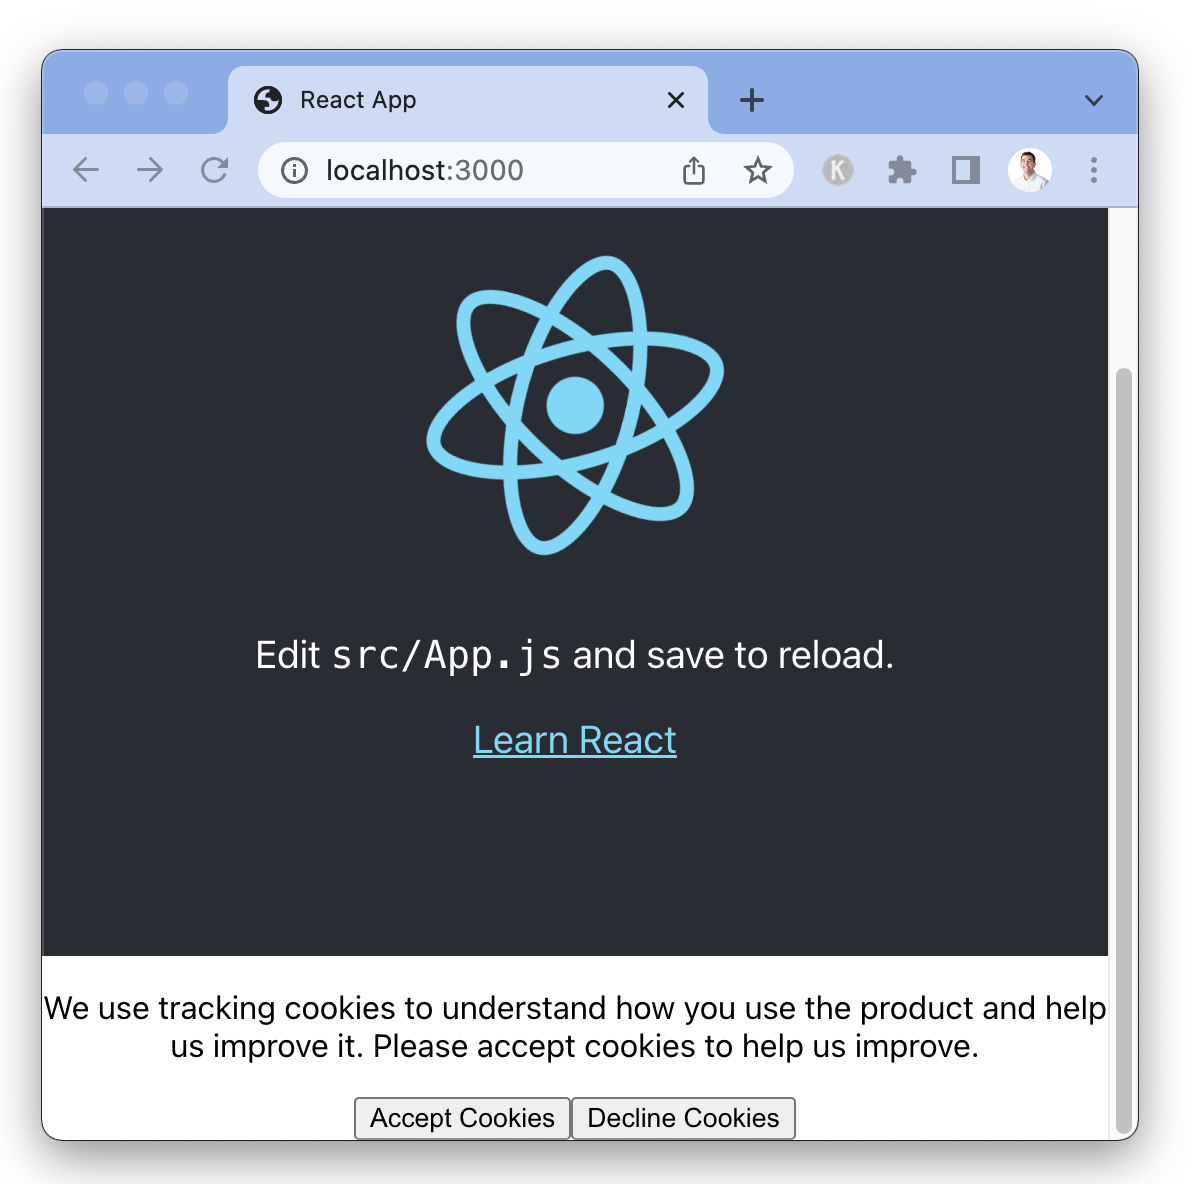
When we head back to the local site, we’ll see our cookie banner at the bottom of the site. We’ll not be winning any design awards with this one, but it does work.
💯: For bonus points, you can click each of the buttons and go view the associated events in your PostHog instance.
Step 4: Adding the opt out (or in) logic
Next, we’ll add the logic for accepting or declining the tracking cookies. We’ll head back to our CookieBanner.js component, import the PostHog library, and add click handlers for the buttons.
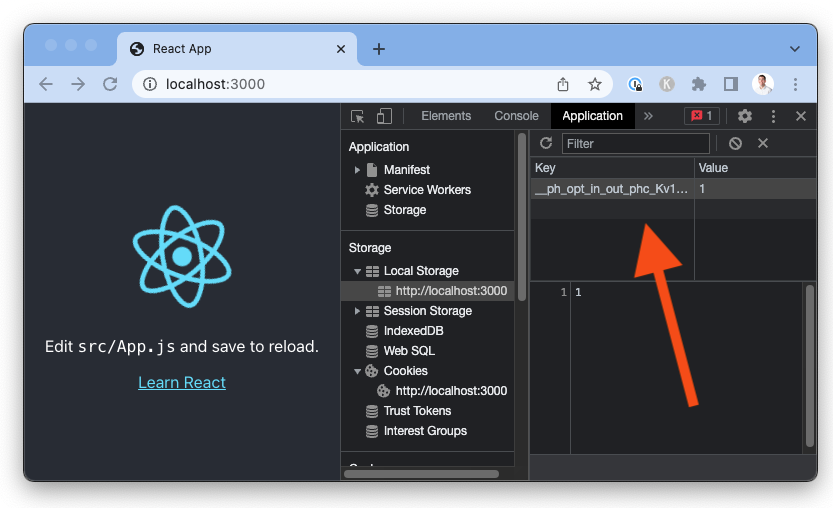
Now, when we head back to our site, we can click accept or decline. By inspecting and clicking the Application tab again, we can see our decision stored in local storage. If declined, we’ll also see our tracking cookie was deleted.
Step 5: Making the banner conditional
We don’t want to show users our beautiful cookie banner all the time. We can hide it once users make a decision and not load the banner when they come back to our site.
To do this, we can use the posthog.has_opted_out_capturing and posthog.has_opted_in_capturing methods. Back in App.js, we can add the logic to conditionally render the component depending on if users already made a tracking cookie decision.
Finally, we want to hide the banner when users make a decision. We’ll add a showBanner state to our CookieBanner.js component and set it to false once an option is chosen. We’ll then use the showBanner state to conditionally render the content of the component.
Step 6: Testing it all out
To make sure everything works, try the following steps:
- Go to the site.
- Delete your PostHog key in local storage (found in the Application tab after inspecting).
- Reload the site then click accept or decline on the banner.
- Check the banner disappears.
- Reload the page.
- Check that the banner doesn’t load.
If all that works, you’ve done it. You’ve set up a basic tracking cookies opt out banner in React. From here, you can customize it to your needs (such as adding other cookies) and the rest of your site’s design.
Beyond opt out banners
If you’re interested in going further into tracking, data management, and cookies, check out these other resources:
- A tutorial on setting up cookieless tracking.
- A guide to setting up a reverse proxy to help your data stay first-party.
- Sign up for our EU Cloud.